|
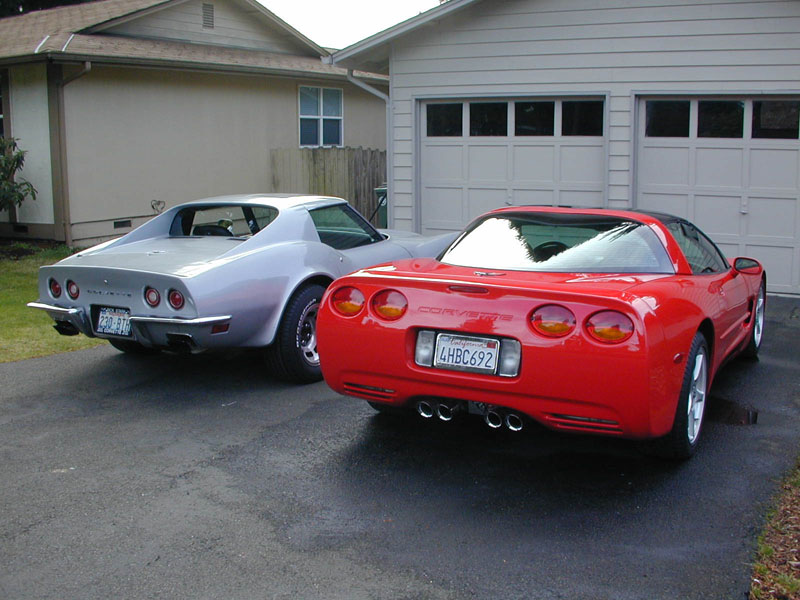
It only took about 12 months to
get the 'vette bug again. I wanted to get a daily driver to keep the miles
down on my C5. I figured I could either spend my money on a boring
commuter car, or get something more interesting.
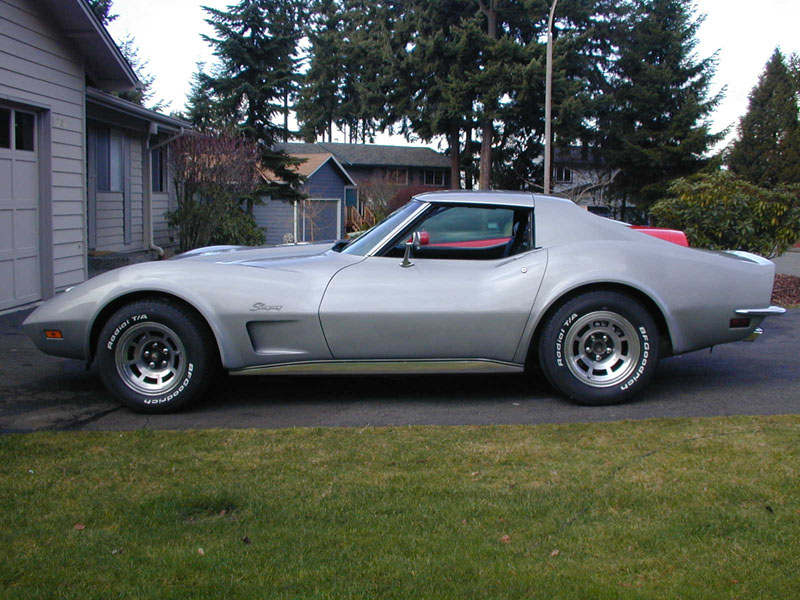
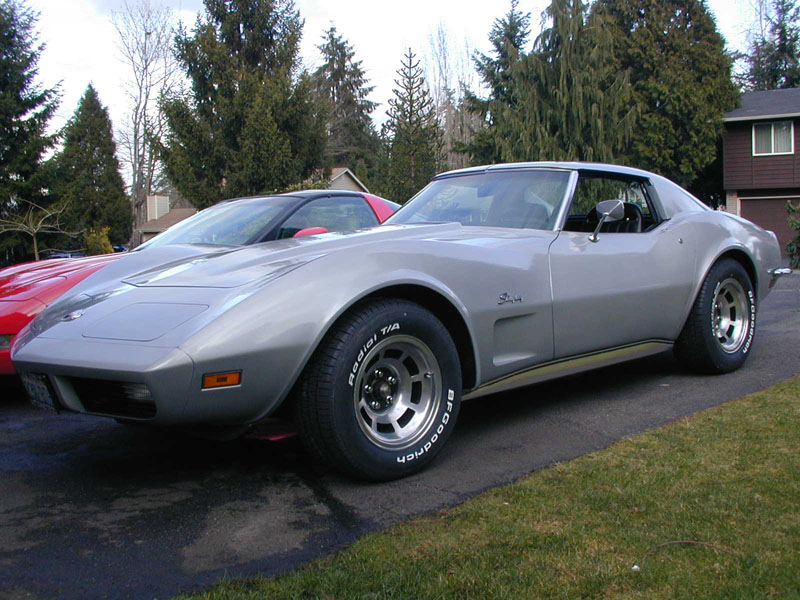
Being a child of the 70's, I always loved the
'Shark" body style. I was lucky enough to find a numbers-matching 1973
coupe in good condition.
During the process of looking for the right C3, I fell
in love with the 1973's in particular because they are unique and one of the
few Singrays whose year can be identified almost immediately. 1973 was the
only year to have rubber bumpers in the front and chrome in the back.
1968-1972 had chrome bumpers in the front and back, and 1974-1982 had rubber
bumpers on both ends.
|
|
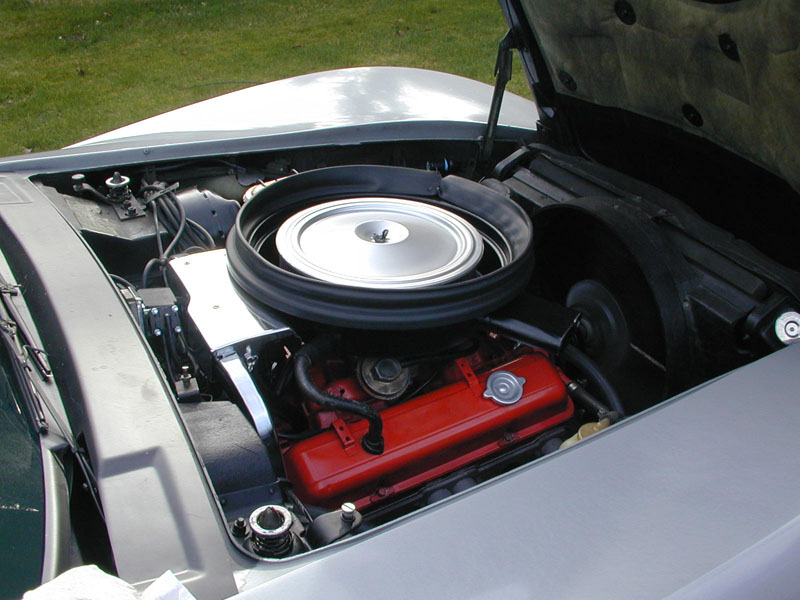
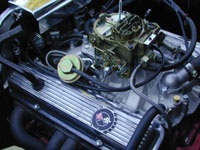
ENGINE
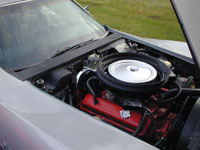
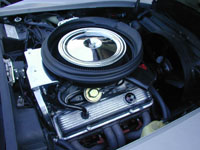
These are pictures of the
engine a few weeks after I bought the car. Luckily, It was in really good
shape when I bought it. What you see here was done with some Simple Greeen to
clean some of the grease, (absolutely the best engine cleaner/degreaser. It's
natural, not a harsh chemical, it smells good, and it's bio-degradeable. It
also works great in the house!), and some Krylon Semi-flat black paint (the default color for all
engine/interior parts on a vette). Also, I painted the ratty oil filler cap
and air filter lid silver.
BEFORE...
 0 0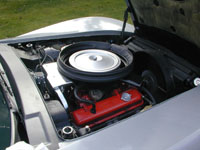
click for larger images
... and AFTER
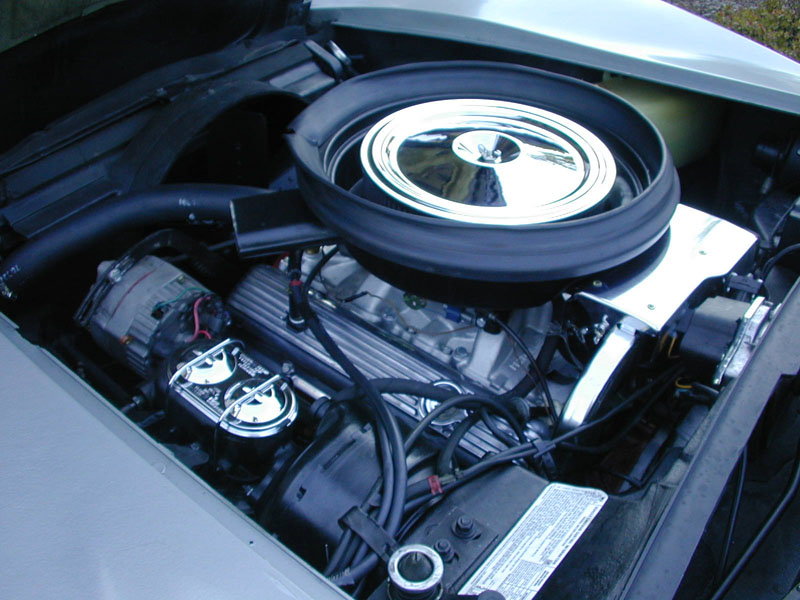
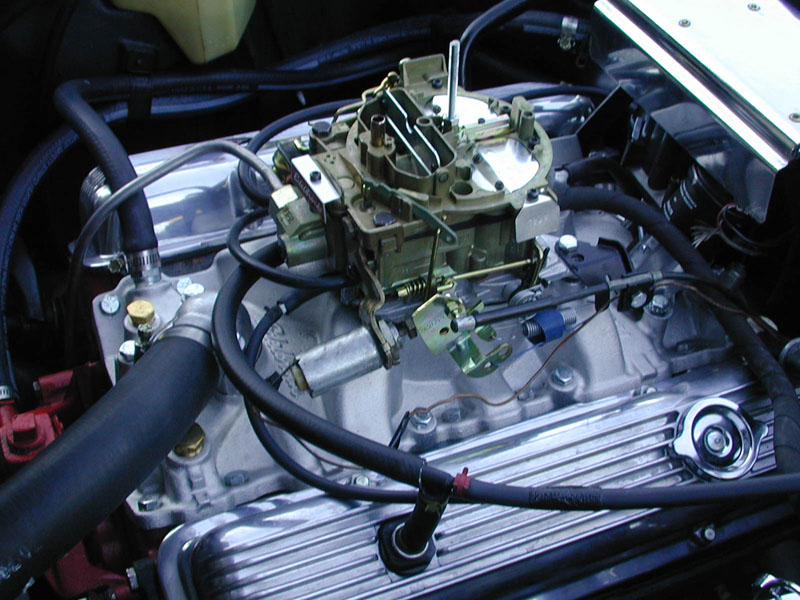
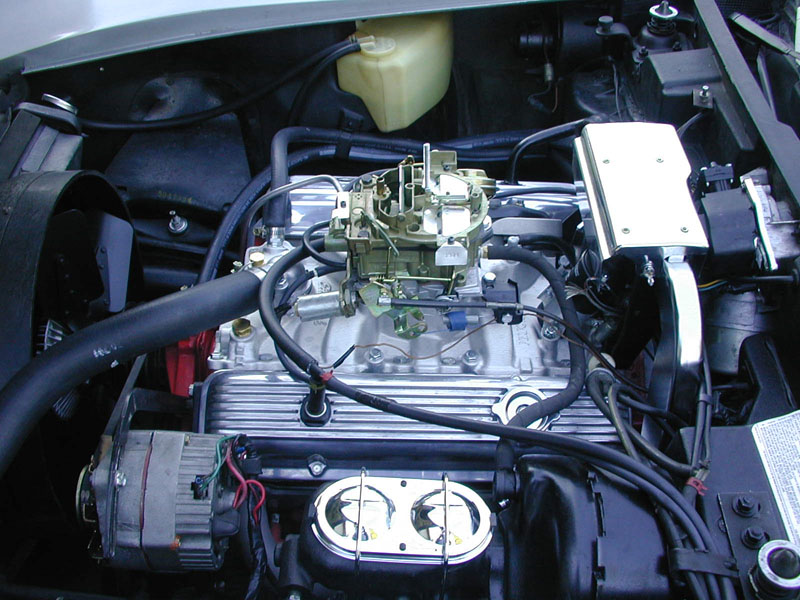
Here's some pictures I'm
really proud of. There's a TON of little details in all this work and it's
taken me several months to get this far. I really owe a big thanks to my
Dad and "Rock n' Roll" from the Forum for helping
me with all my little questions.
I've really tried to
update the engine with new parts but still keep it "correct" Here's
what I've done:
- Edelbrock #3701 Intake
Manifold (EGR version)
- Edelbrock #1901 QuadraJet
Carb
- GM Polished Aluminum Valve
Covers
- Chrome Air Filter Lid,
Master Cylinder Cover, and Choke Coil Cover
- All new vacuum hoses,
fittings, and clamps
- All new heater hoses and
clamps
- Removed and cleaned the
Windshield Washer and Coolant Overflow tanks
- New Data Sticker
- New EGR valve and Choke coil
spring
- Lots of cleaning, painting,
and TLC.
 0 0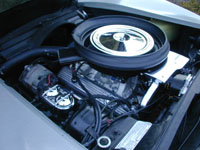
 0 0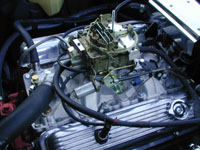

click for larger images
ENGINE LINKS
Edelbrock
Simple Green
Ecklers
Corvette Central
|
|
EXTERIOR
Trust me, the paint
looks better in pictures. The outside is probably the worst part of the car.
From 10 feet away it looks great! Although it's the original color, it's not
the original paint. It's fine for now, but I plan to have the body stripped
and repainted correctly.
 0 0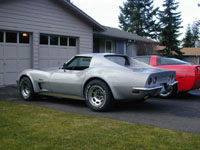
 0 0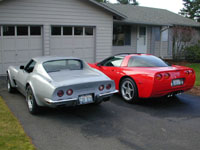

click for larger images
|
|
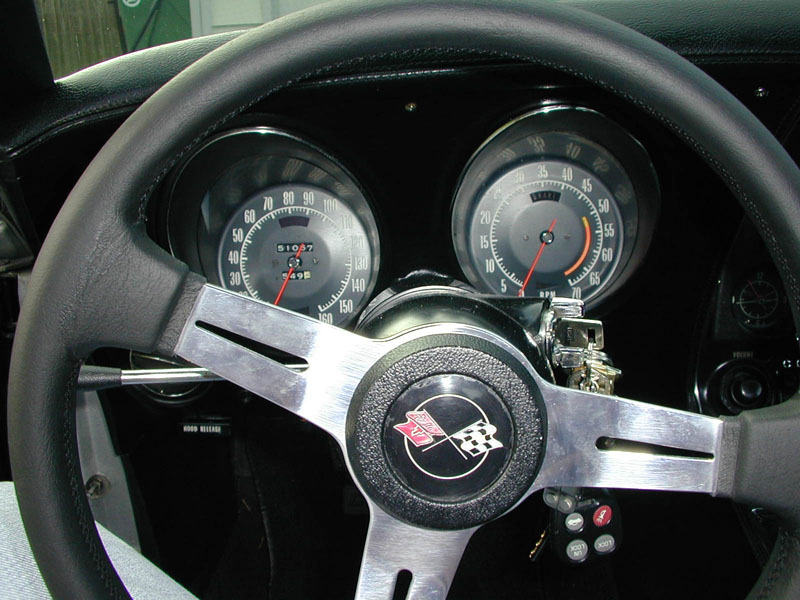
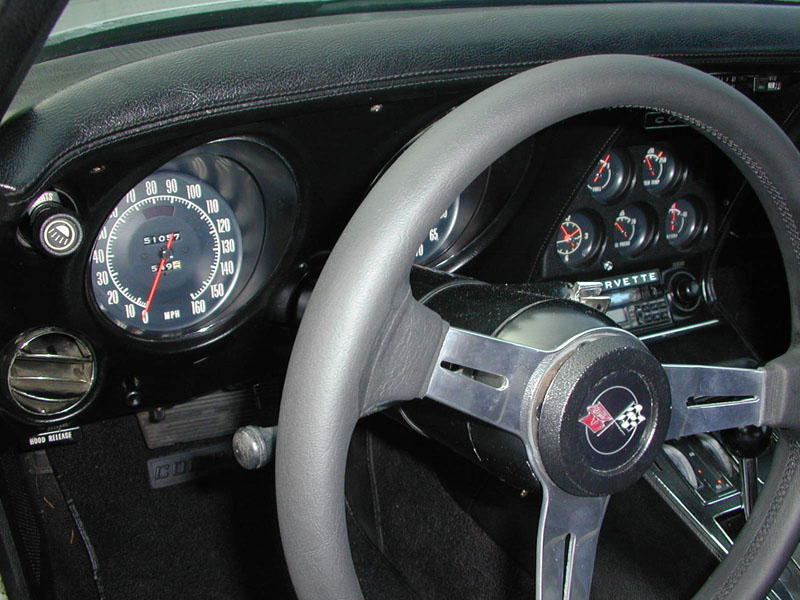
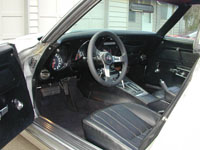
INTERIOR
Overall, the
interior was in really good shape and has (so far) required the least amount
of work. Just a good cleaning and detailing. I dyed some of the faded carpet
areas with black leather dye. All in all, I think having a black interior
makes restoration easier. Everything will color to black easily. I did
replace the steering wheel with a smaller, leather wheel. It's more comfortable
to grip, and the smaller wheel makes it easier for me to get in and out of
the car!
 0 0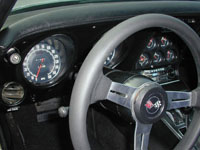
 0 0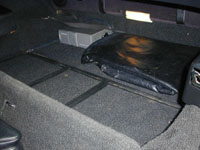

click for larger images
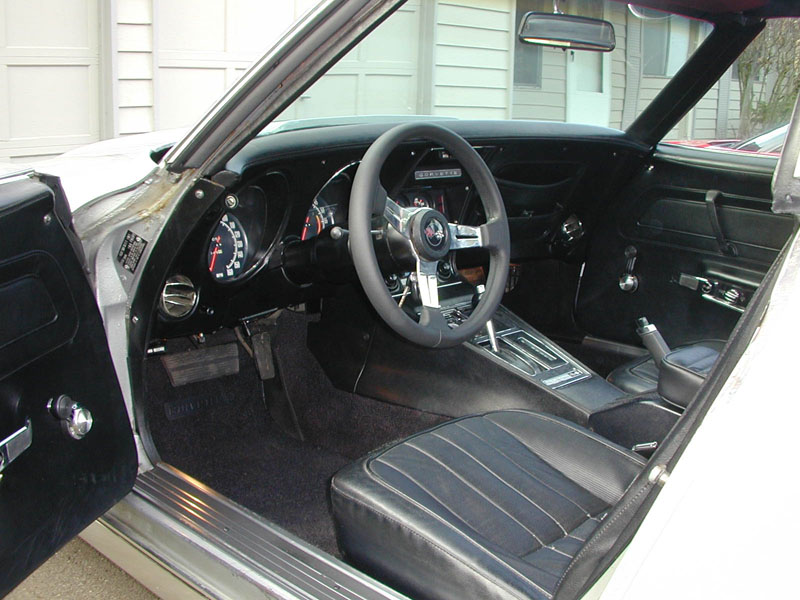
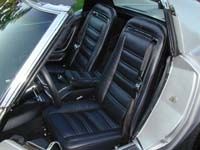
LATEST PICS
The old Stingray is
back on the road after doing a bunch of work. The most obvious is an interior
refresh. I purchased new seat foam and leather covers from Corvette Central,
and had them mounted. The carpet, from Gary
Gruhala (a great, great guy with good product and good prices!), I did
myself and also installed the heat barrier. After lots of time and detailing
on the interior, it looks practically brand new.
 0 0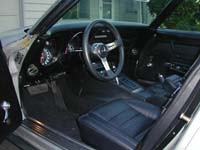
click for larger images
INTERIOR LINKS
Custom Autosound
Mid America
|
|
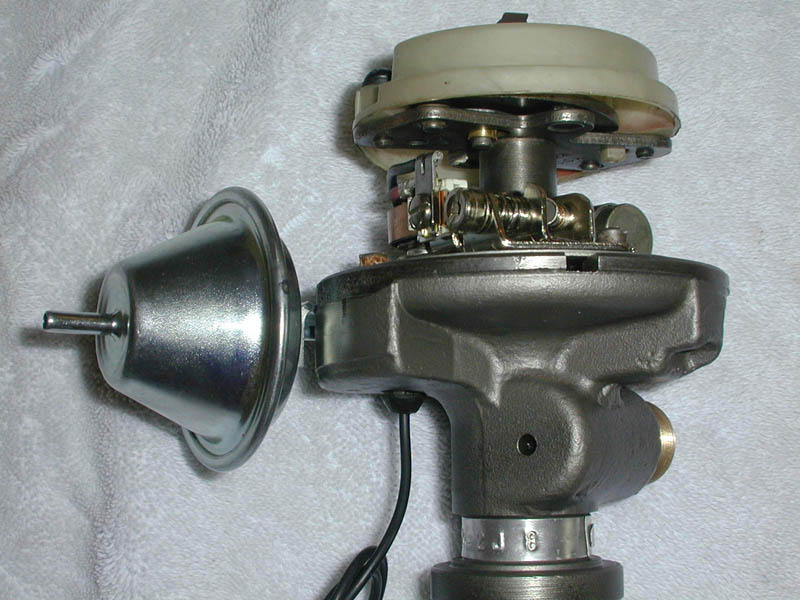
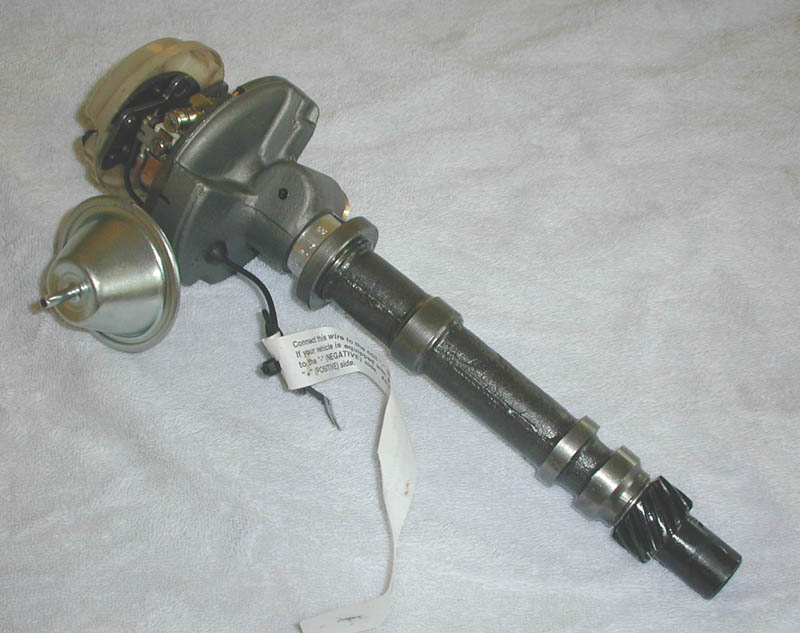
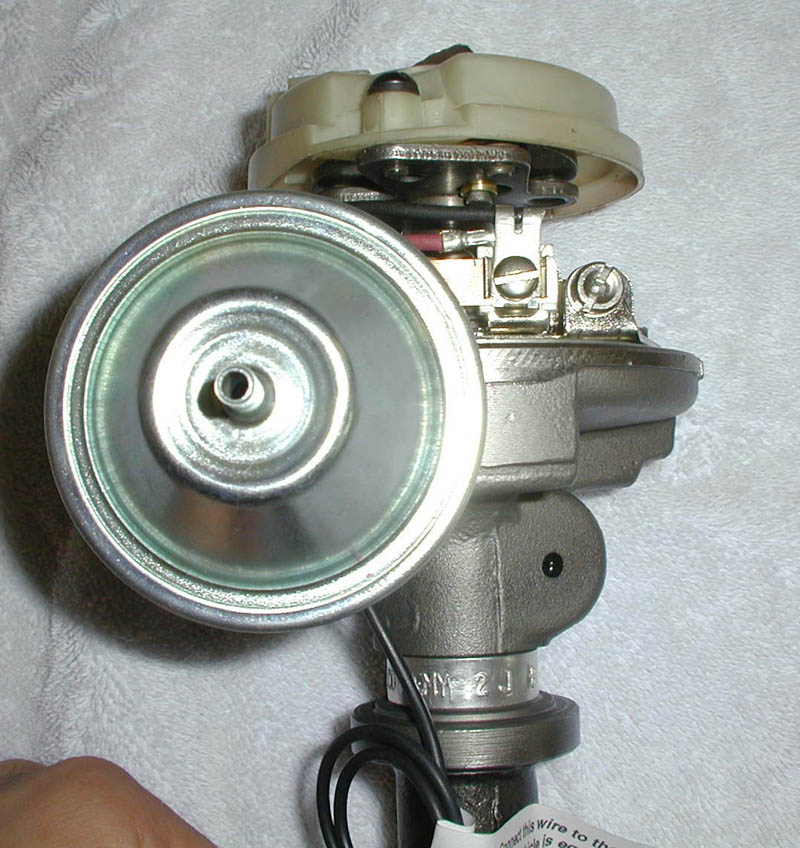
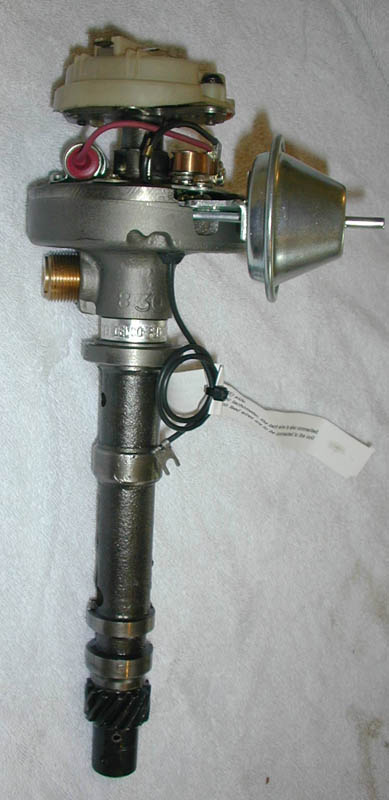
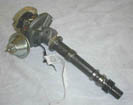
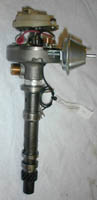
Re-Curved Distributor
Got my distributor
re-curved and re-built from a very nice gentleman by the name of Lars Grimsrud who helps members on
the Corvette Forum.
Not only did he do an amazing job rebuilding the unit (it looks brand new),
but he works some magic with custom weights, springs, and vaccum canister to
get better performance. The car is running even better now!
 0 0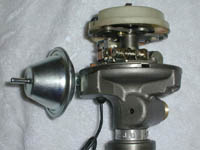
 0 0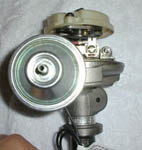
click for larger images
|
|
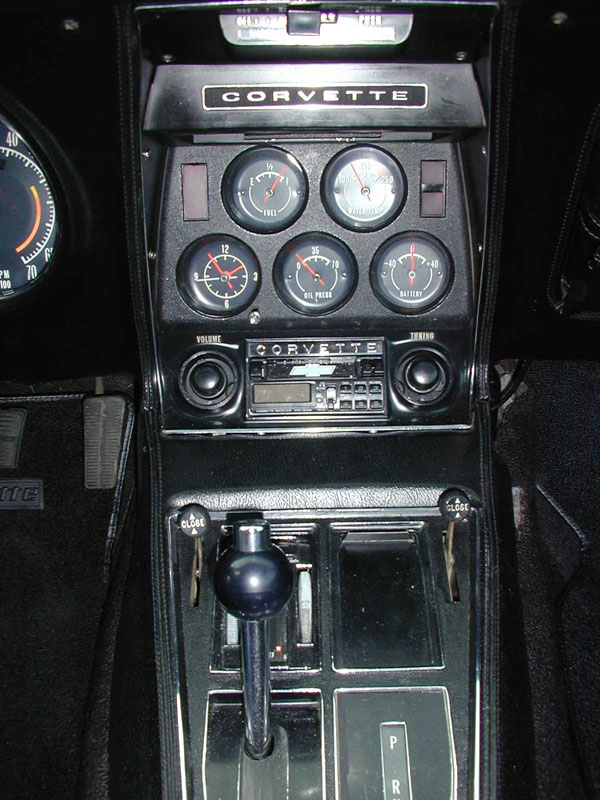
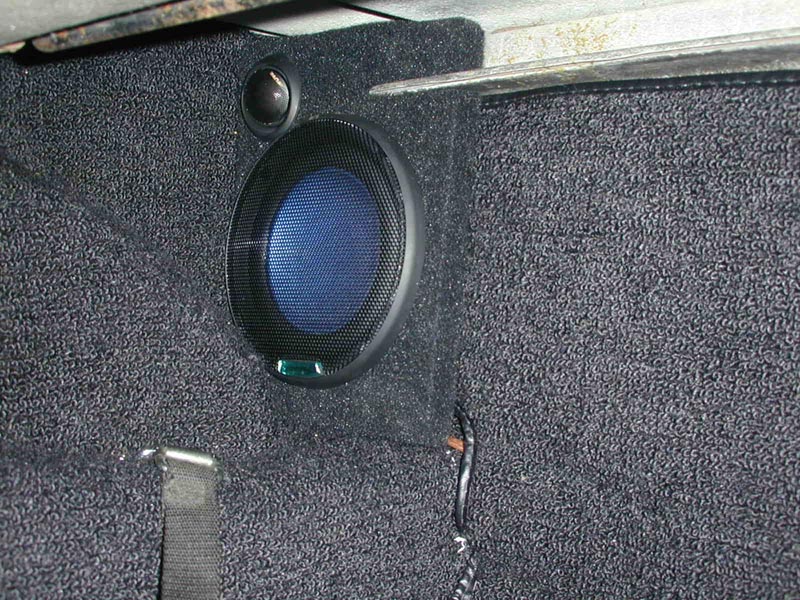
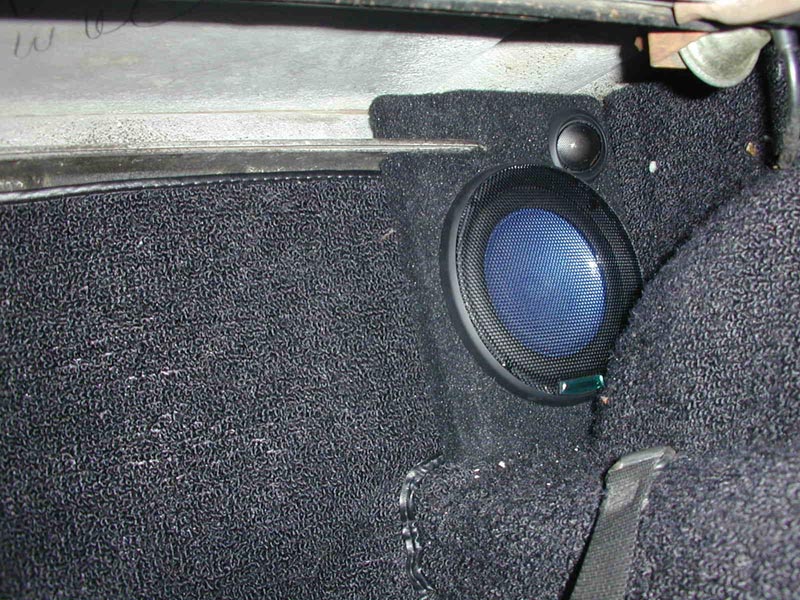
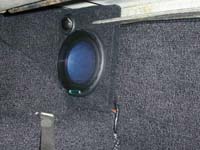
Stereo
Just had this done recently
and I'm REALLY happy with it. The car came with a Custom Autosound modified Kenwood
Tape player and 10 disc CD Changer. There were some lousy speakers in the
front and back, and I wanted a better sounding system without breaking the
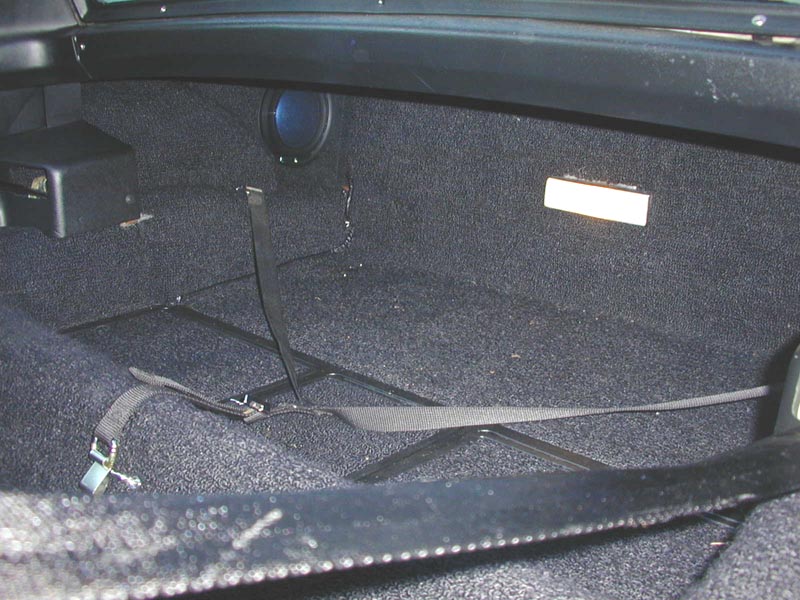
bank. As you can see in the picture above, the old CD
changer was mounted on the floor of the back and took some valuable space
away. I wanted all this fixed and stealthy so here's what I did:
Speakers
I first replaced the
front speakers with set of Pioneer 4x6 3-way speakers. They have mounts that
fit in the stock dash and, generally, I like to keep the car as
"original" as possible. For the back I did something different --
here are the pictures of the TRICK boxes that were built. They are Alpine
separates with a 6" woofer mounted on a faceplate. The faceplate is cut
and pressure-fit against the back wall, and the back of the speakers fill the
rear wheel well. Behind the speakers is some cushion-foam material cut to fit
back there, so that the speakers don't rattle, and all the bass is projected
forward. The other benefit is they are not screwed in so installation/removal
is easy and doesn't cut up the car. I think they look great, can barely be
seen, and they sound awesome!
 0 0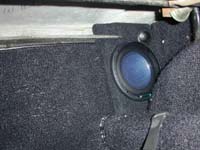
This is what is looks like before and after. New carpet
helps, too.
0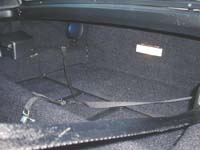
click for larger images
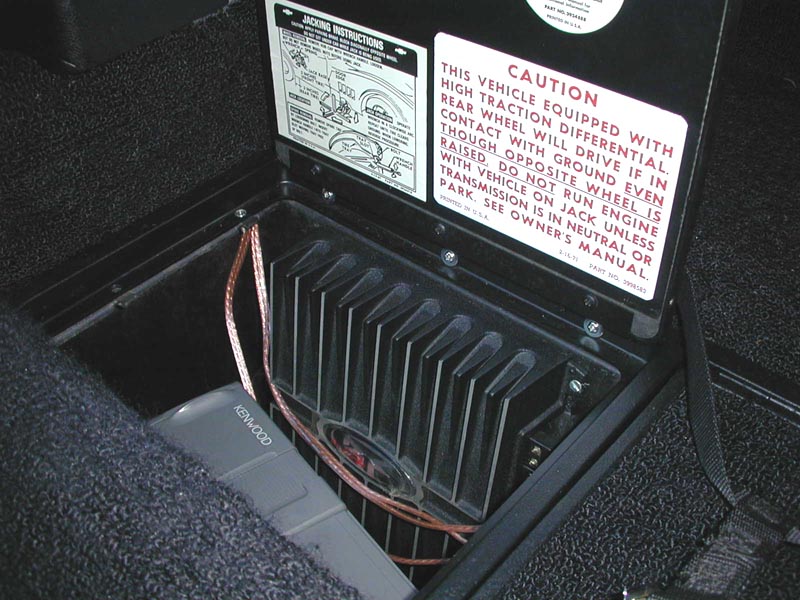
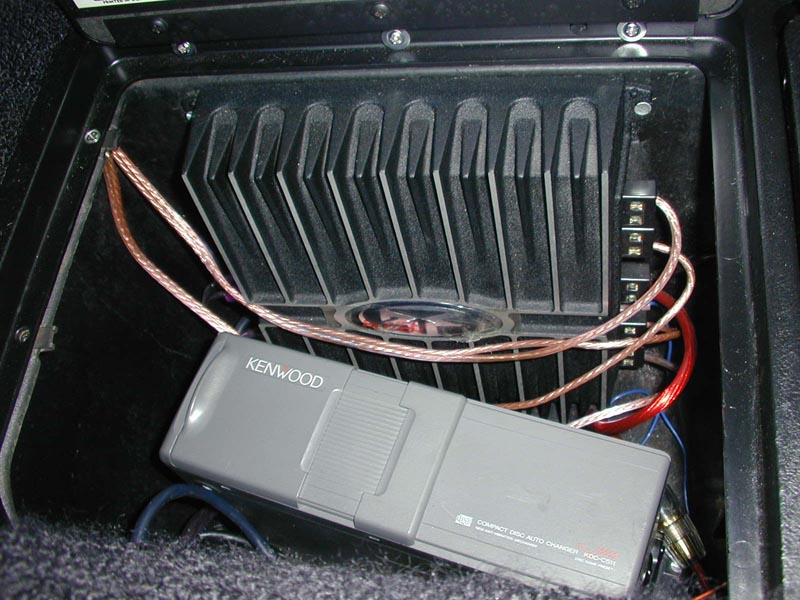
Amp and Changer
Removing the jack,
I've mounted the old CD changer and a Rockford/Fosgate 4 channel amp in the
right storage box. Guess I'll have to rely on AAA now! The wiring job is
so-so, but it's really difficult to move around in there. At some point I'll
clean it up. The amp is just a simple, 200 watt amp. I got a four channe
originally so I could power the front speakers as well. Then I reallized
that, amp or not, little 4x6 speakers are never going to put out great sound.
So, I re-wired the setup so the deck is powering the fronts, and the amp is
dedicated to the rears. A MUCH better choice!
 0 0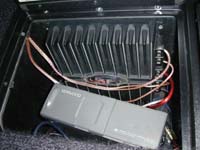
click for larger images
|